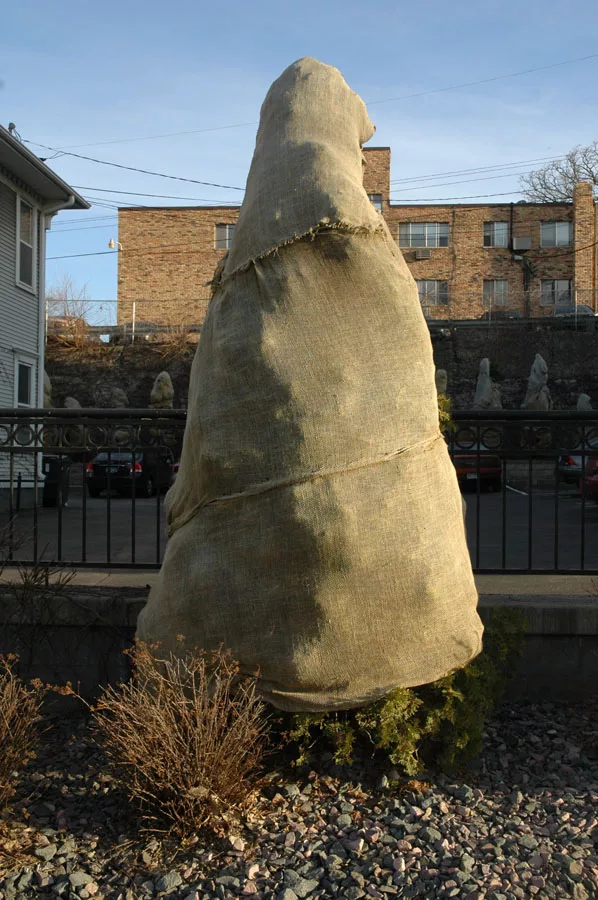
As the days grow shorter and the air turns crisp, it’s time to start thinking about winterizing your garden. One effective way to protect your plants, particularly evergreens like cedars, is by wrapping them in burlap. This simple yet effective process can safeguard your beloved plants from harsh winter winds, ice, and snow, ensuring they emerge healthy and vibrant come spring. Let’s explore why this is a great idea and how to do it correctly!
Why Wrap Your Plants in Burlap?
- Protection from Harsh Weather: Winter can be brutal, especially with high winds and heavy snow. Wrapping your plants in burlap helps shield them from these elements, reducing the risk of damage.
- Moisture Retention: Burlap is breathable, allowing moisture to escape while still protecting the plant. This helps prevent dehydration, which can occur in winter months when plants are exposed to harsh conditions.
- Temperature Regulation: Wrapping your plants can help maintain a more stable temperature around their stems and foliage, reducing the chances of freeze-thaw cycles that can harm root systems.
- Pest Deterrence: Burlap can act as a barrier against pests that might be seeking shelter in your garden during the winter months.
Step-by-Step Guide to Wrapping Your Plants with Burlap
Step 1: Gather Your Supplies
Before you begin, gather the necessary materials:
- Burlap fabric (available in various sizes at Peterborough Landscape Supply)
- Twine or garden wire
- Scissors
- Stakes (if needed, for larger plants)
Step 2: Choose the Right Time
Aim to wrap your plants before the first hard frost. This usually occurs in late fall, depending on your local climate.
Step 3: Prepare the Plants
- Trim Back: Remove any dead or damaged branches from your plants. This will not only improve their appearance but also help them focus their energy on growth.
- Clean Up: Rake away any fallen leaves or debris around the base of the plants. This helps prevent disease and pests from taking shelter in your garden.
Step 4: Measure and Cut the Burlap
Cut a piece of burlap large enough to wrap around the plant with some extra material for securing it. Ensure that the burlap will cover the foliage and provide adequate protection.
Step 5: Wrap the Plant
- Start from the Bottom: Begin at the base of the plant and wrap the burlap around the stems and foliage, moving upward. Be gentle to avoid damaging delicate branches.
- Secure the Burlap: Once you reach the top, use twine or garden wire to secure the burlap in place. Make sure it’s snug but not too tight, as this could damage the plant.
- Stake if Necessary: For taller plants or cedars, consider using stakes to help support the burlap and keep it from collapsing under snow or ice.
Step 6: Final Touches
Once wrapped, check for any loose areas in the burlap. Ensure it’s securely fastened and provides ample coverage. If needed, add additional burlap layers for extra protection.
Peterborough Landscape Supply: Your Winter Gardening Partner
At Peterborough Landscape Supply, we understand the importance of winterizing your garden. That’s why we offer burlap in various sizes and shapes, perfect for any plant or cedar. Our knowledgeable horticulturists are on staff and ready to assist you in selecting the right materials and techniques to ensure your garden remains healthy and thriving throughout the winter months.
Wrapping your plants in burlap is an essential step in winter gardening. With a little preparation and the right supplies, you can help your garden weather the season and look forward to a beautiful spring bloom. Visit us today to stock up on burlap and get expert advice from our team!

