|
Here is a comprehensive guide to growing vegetables and flowers from seed. GROWING plants from seed is a great way to start gardening earlier in the season. With the right light and some simple equipment, it’s easy to grow from seed to harvest. Because each plant has unique seed-starting requirements, it helps to start small by growing just a few varieties. Some seeds — such as tomatoes and marigolds — are especially easy to start indoors. If you’re a beginner, choose those first, and then move on to more fussy seeds, such as petunias. Other good choices for beginners:
|

|
Grow lights for starting seeds Make sure you have lots of light All seedlings require a considerable amount of light, so make sure you have a sunny, south-facing window. If seedlings don’t get enough light, they will be leggy and weak. If you don’t have a sunny, south-facing window, invest in grow lights and a timer . It’s the best way to ensure consistent, abundant light. Set the timer for 15 hours a day, water regularly and you’re sure to get great results. Information on the back of a seed packet Get the timing right The goal with seed starting is to have your seedlings ready to go outside when the weather is favorable. Start by looking at the seed packet, which should tell you when to start seeds inside. Usually, it will say something like, “Plant inside six to eight weeks before last frost.” |
|
Six Steps, from Seed to Garden 1. Find the right containers You can start seeds in almost any type of container, as long as it’s at least 2-3″ deep and has some drainage holes. 2. Prepare the “potting soil” Choose potting soil that’s made for growing seedlings. Start with a fresh, sterile mix that will ensure healthy, disease-free seedlings. Good-quality “potting soil” for seed starting doesn’t actually have any soil in it. This sterile, free-draining mix is perfect for seedlings.
|

|
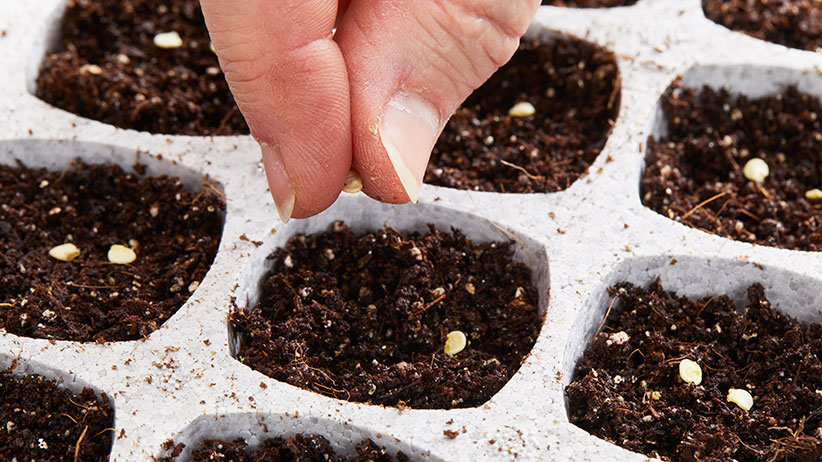
3. Start planting Check the seed packet to see how deep you should plant your seeds. Some of the small ones can be sprinkled right on the soil surface. Larger seeds will need to be buried. Moist the newly planted seeds with a mister or a small watering can. To speed germination, cover the pots with plastic wrap or a plastic dome that fits over the seed-starting tray. This helps keep the seeds moist before they germinate. When you see the first signs of green, remove the cover. 4. Water, feed, repeat As the seedlings grow, use a mister or a small watering can to keep the soil moist but not soggy. Let the soil dry slightly between waterings. Remember to feed the seedlings regularly with liquid fertilizer, mixed at the rate recommended on the package. |
|
5. Light, light, light! Seedlings need a lot of light. If you’re growing close to a window, choose a south-facing exposure. Rotate the pots regularly to keep plants from leaning into the light. 6. Move seedlings outdoors gradually It’s not a good idea to move your seedlings directly from the protected environment of your home into the garden. You’ve been coddling these seedlings for weeks, so they need a gradual transition to the great outdoors. The process is called hardening off. About a week before you plan to set the seedlings into the garden, place them in a protected spot outdoors (partly shaded, out of the wind) for a few hours, bringing them in at night. Gradually, over the course of a week or 10 days, expose them to more and more sunshine and wind. A cold frame is a great place to harden off plants. |


